Are you ready to whip up a sweet treat that requires zero baking? This Chocolate Coconut Fudge is so easy, you’ll wonder why you didn’t make it sooner! With just a few simple ingredients, you can create a creamy, rich dessert that will leave everyone asking for seconds. Let’s dive in and discover how to make this delightful fudge, perfect for any occasion!
Why I Love This Recipe
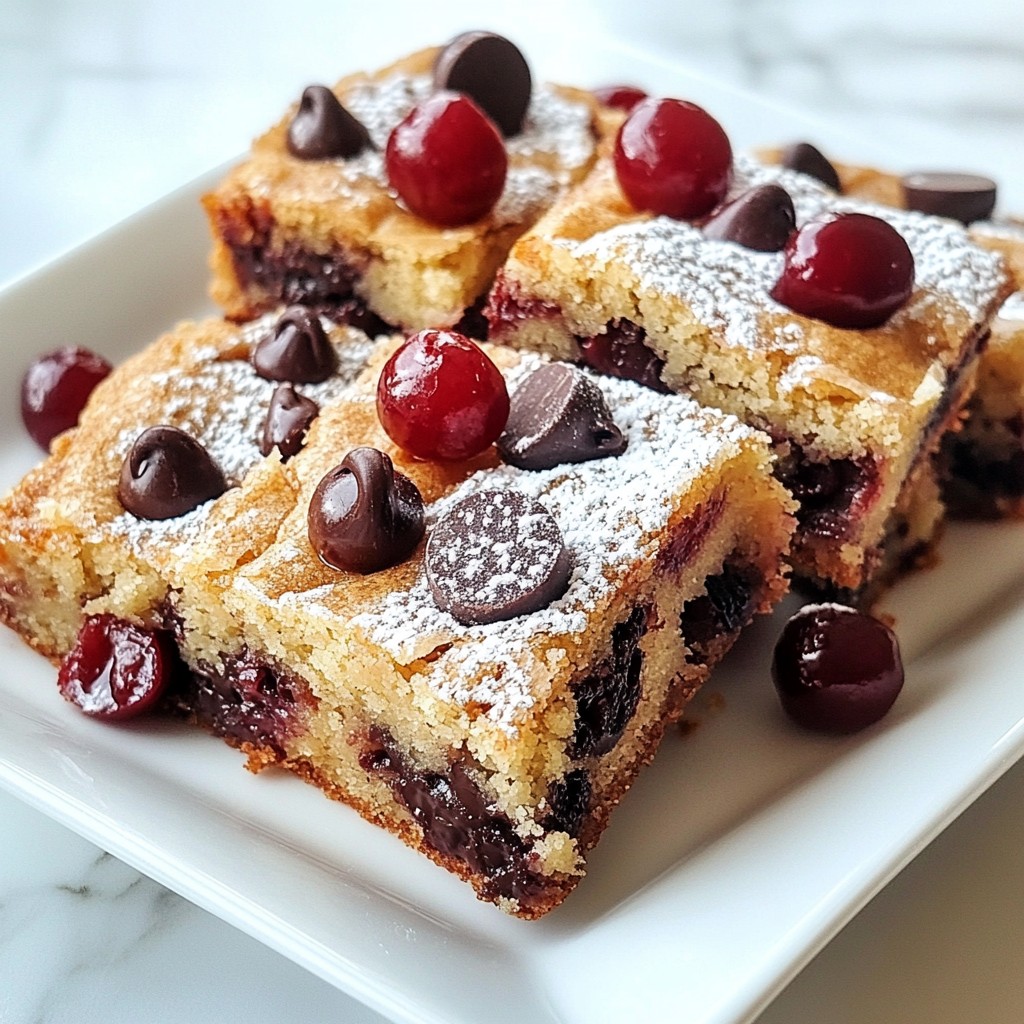
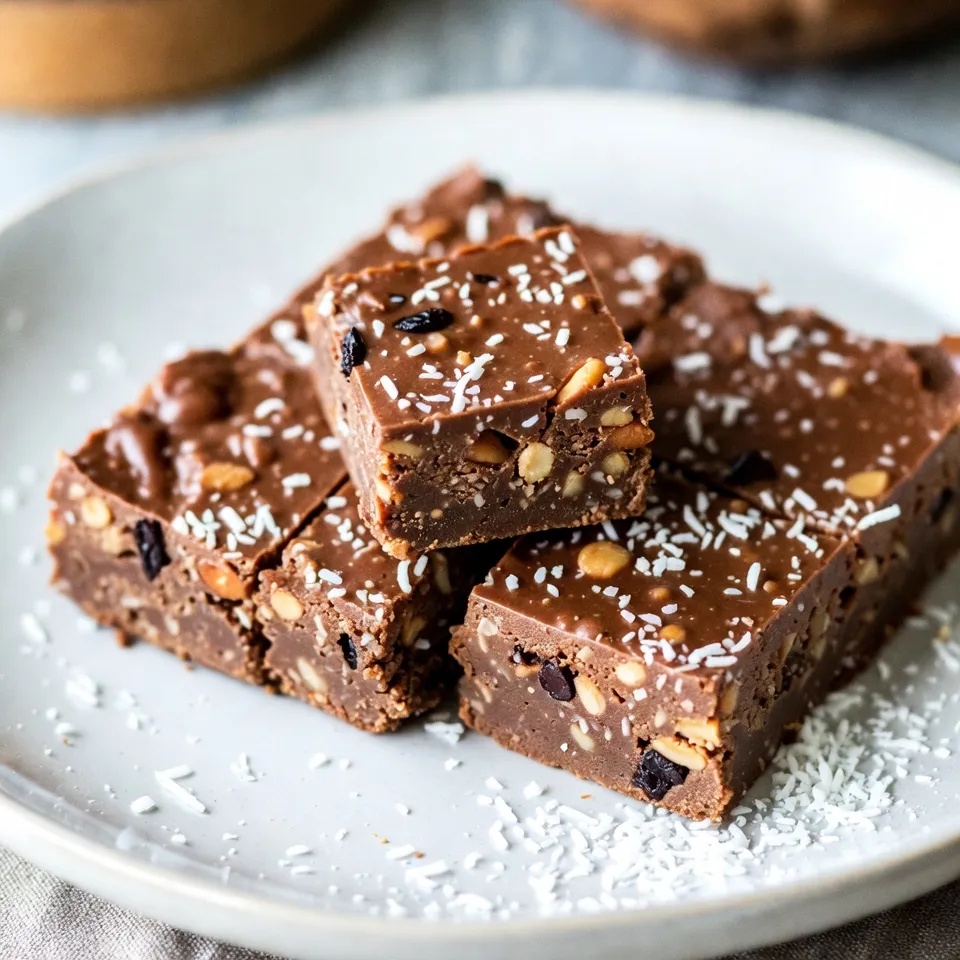
- Decadent Flavor: This fudge combines rich chocolate with the tropical flavor of coconut, creating a delightful treat that’s hard to resist.
- Simple Preparation: With just a few ingredients and easy steps, you can whip up this delicious dessert in no time.
- Versatile Options: Feel free to customize the fudge by adding your favorite nuts or adjusting the sweetness to your liking.
- Perfect for Sharing: Cut into bite-sized pieces, this fudge is great for parties, gifts, or just a sweet treat to enjoy with friends and family.
Ingredients
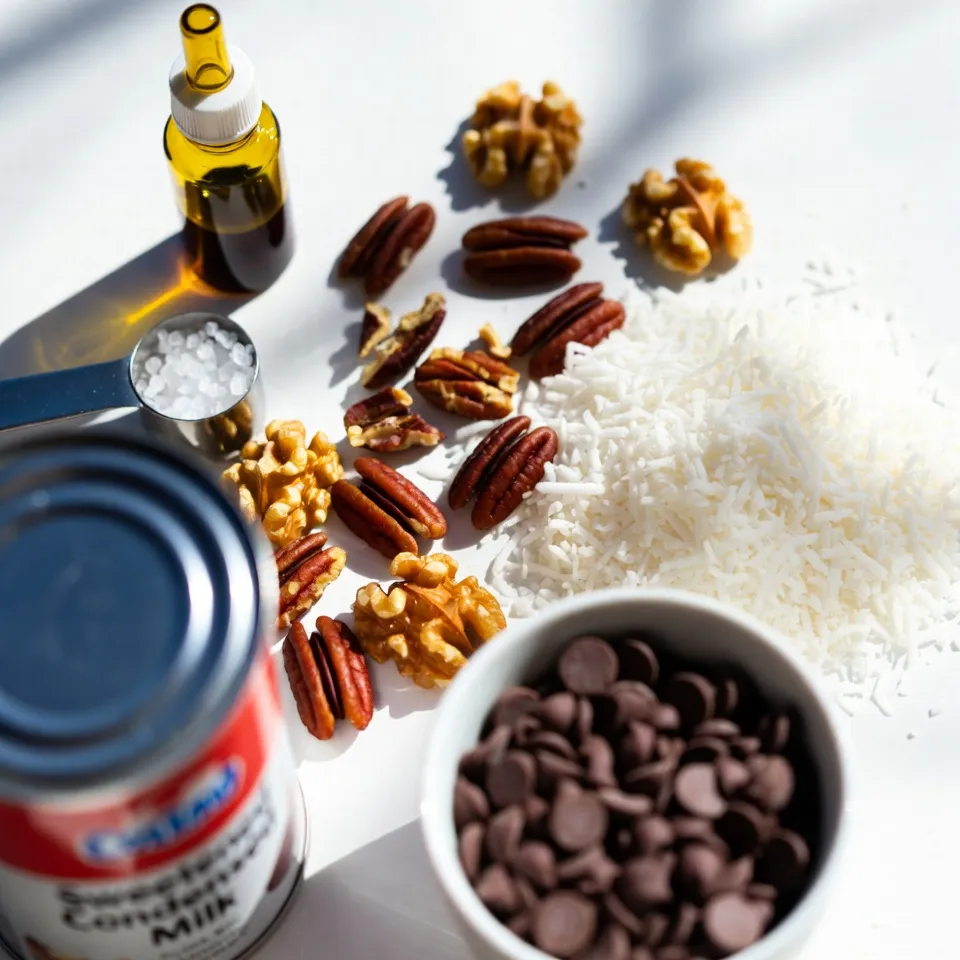
List of Ingredients
– 1 can (14 oz) sweetened condensed milk
– 2 cups semi-sweet chocolate chips
– 1 cup unsweetened shredded coconut
– 1 teaspoon pure vanilla extract
– 1/4 teaspoon sea salt
– 1/2 cup chopped nuts (optional)
Nutritional Information
– Calories per serving: About 150 calories
– Macronutrient breakdown:
– Total Fat: 8g
– Saturated Fat: 5g
– Carbohydrates: 18g
– Sugars: 14g
– Protein: 2g
When making Chocolate Coconut Fudge, you want to use high-quality ingredients. Sweetened condensed milk gives the fudge its creamy texture. Semi-sweet chocolate chips melt perfectly and add rich flavor. Unsweetened shredded coconut brings a delightful chew. The vanilla extract enhances the overall taste. Sea salt balances the sweetness, making each bite enjoyable.
Chopping nuts is optional, but they add a fun crunch and flavor. Pecans or walnuts work great. Adjust the recipe to fit your taste. This fudge is simple yet delicious, perfect for sharing or enjoying yourself.
Understanding the nutritional facts helps you enjoy this treat wisely. Each piece offers a nice balance of flavors while keeping indulgence in check.
Step-by-Step Instructions
Preparing the Baking Pan
First, grab an 8×8-inch square baking pan. Line it with parchment paper. Make sure some paper hangs over the edges. This will help you lift the fudge out later.
Melting the Chocolate Mixture
Next, take a medium saucepan. Add the sweetened condensed milk and semi-sweet chocolate chips. Set the pan over low heat. Stir the mix constantly. This will help the chocolate melt evenly. You want a smooth and silky mixture.
Enhancing the Flavor
Once the chocolate melts, remove the pan from heat. Stir in the pure vanilla extract. Add a sprinkle of sea salt. Mix it well for great flavor.
Incorporating Coconut and Nuts
Now, fold in the shredded coconut. If you like nuts, add the chopped nuts too. Make sure everything blends together nicely. You want to see coconut and nuts spread evenly in the fudge.
Transferring to the Pan
Carefully pour the fudgy mix into your lined pan. Use a spatula to spread it evenly. Ensure the top is smooth and flat.
Chilling the Fudge
Place the pan in the refrigerator. Let it chill for about 2-3 hours. The fudge should set firmly when touched.
Cutting and Serving
When the fudge is set, lift it out by the parchment paper. Cut it into squares or rectangles. You can choose the size you like. For serving, arrange the pieces on a nice platter. You can sprinkle extra coconut or cocoa powder on top for a fun touch.
Tips & Tricks
Ingredient Substitutions
You can switch out ingredients to match your taste. For chocolate, try dark chocolate chips for a richer flavor. You can also use milk chocolate for a sweeter treat. If you don’t have sweetened condensed milk, use coconut cream for a dairy-free option. This will add a nice coconut flavor too.
Perfecting Texture
Getting the right texture is key to great fudge. Stir the chocolate mixture slowly as it melts. This helps it stay smooth. If the fudge seems too thick, add a splash of milk. This will help it blend better. Make sure to mix well after adding any extra liquid.
Presentation Tips
How you serve your fudge makes a big difference. Cut it into neat squares or fun shapes. For a fancy touch, place the pieces on a pretty plate. You can sprinkle extra shredded coconut or cocoa powder on top. Add a few whole nuts for color and texture. A light dusting of sea salt gives it a gourmet look.
Pro Tips
- Use Quality Chocolate: The flavor and texture of your fudge greatly depend on the quality of the chocolate chips you choose. Opt for high-quality semi-sweet chocolate for the best results.
- Adjust Sweetness: If you prefer a less sweet fudge, consider reducing the amount of sweetened condensed milk or using dark chocolate chips instead of semi-sweet.
- Experiment with Flavors: Feel free to get creative! Add a pinch of cinnamon, a splash of peppermint extract, or even a handful of dried fruit for a unique twist on your fudge.
- Ensure Proper Cooling: Allow the fudge to cool completely at room temperature before refrigerating. This helps maintain a smooth texture and prevents the fudge from becoming too hard.
Variations
Flavor Additions
You can make your chocolate coconut fudge even better! Add spices or extracts for new flavors. For a warm spice, try cinnamon or nutmeg. A drop of peppermint extract gives a fresh twist. You can also use almond extract for a nutty taste. These small changes create new and exciting fudge flavors.
Dietary Modifications
Want to make this fudge vegan? Use coconut cream instead of sweetened condensed milk. Choose dairy-free chocolate chips for a vegan-friendly option. For a gluten-free treat, ensure all ingredients are certified gluten-free. These swaps keep your fudge delicious while meeting dietary needs.
Seasonal Variations
Let’s get creative for the holidays! For Valentine’s Day, add a few red sprinkles on top. At Halloween, you can mix in some orange food coloring. For Christmas, use crushed candy canes or dried fruit. These seasonal touches make your fudge festive and fun!
Storage Info
At Room Temperature
Store the fudge at room temperature for short-term use. Place it in an airtight container. It stays fresh for up to a week this way. Keep the fudge in a cool, dry spot. Avoid direct sunlight, as it can melt the chocolate.
Refrigeration
For longer storage, keep the fudge in the fridge. This method extends its shelf life. Use an airtight container to prevent moisture. The fudge can last up to two weeks in the fridge. Cold fudge can be a nice treat on a hot day too.
Freezing the Fudge
You can freeze the fudge for even longer storage. First, cut it into pieces. Wrap each piece in plastic wrap tightly. Then, place the wrapped pieces in a freezer bag or container. This way, the fudge stays fresh for up to three months. To thaw, take it out of the freezer and let it sit at room temperature for about 30 minutes. Enjoy your fudge without worry!
FAQs
How do I know when the fudge is set?
You can tell the fudge is set when it feels firm to the touch. After chilling for 2-3 hours, check the edges. They should pull away from the pan. The surface should not be sticky. If it is, give it more time in the fridge.
Can I use different types of nuts?
Yes, you can use various nuts! Pecans and walnuts work well. Almonds or hazelnuts add a nice crunch too. Just chop them to your liking. Mix them in as you fold the coconut into the fudge.
How long does the fudge stay fresh?
The fudge stays fresh for about a week at room temperature. For longer storage, keep it in the fridge. In the fridge, it can last up to two weeks. Make sure to use an airtight container to keep it fresh.
Can I add other toppings?
Absolutely! You can top the fudge with more shredded coconut. Try adding mini chocolate chips or sprinkles for fun. Sea salt adds a nice touch too. Get creative and mix in your favorite toppings!
This blog post covers how to make a delicious fudge with simple ingredients. You learned the steps from preparing your pan to serving the fudge. We explored tips on ingredients, texture, and presentation. You can also try different flavors and dietary options to suit your taste.
In the end, homemade fudge is fun and easy to make. Enjoy sharing your treats and impressing your friends with your skill