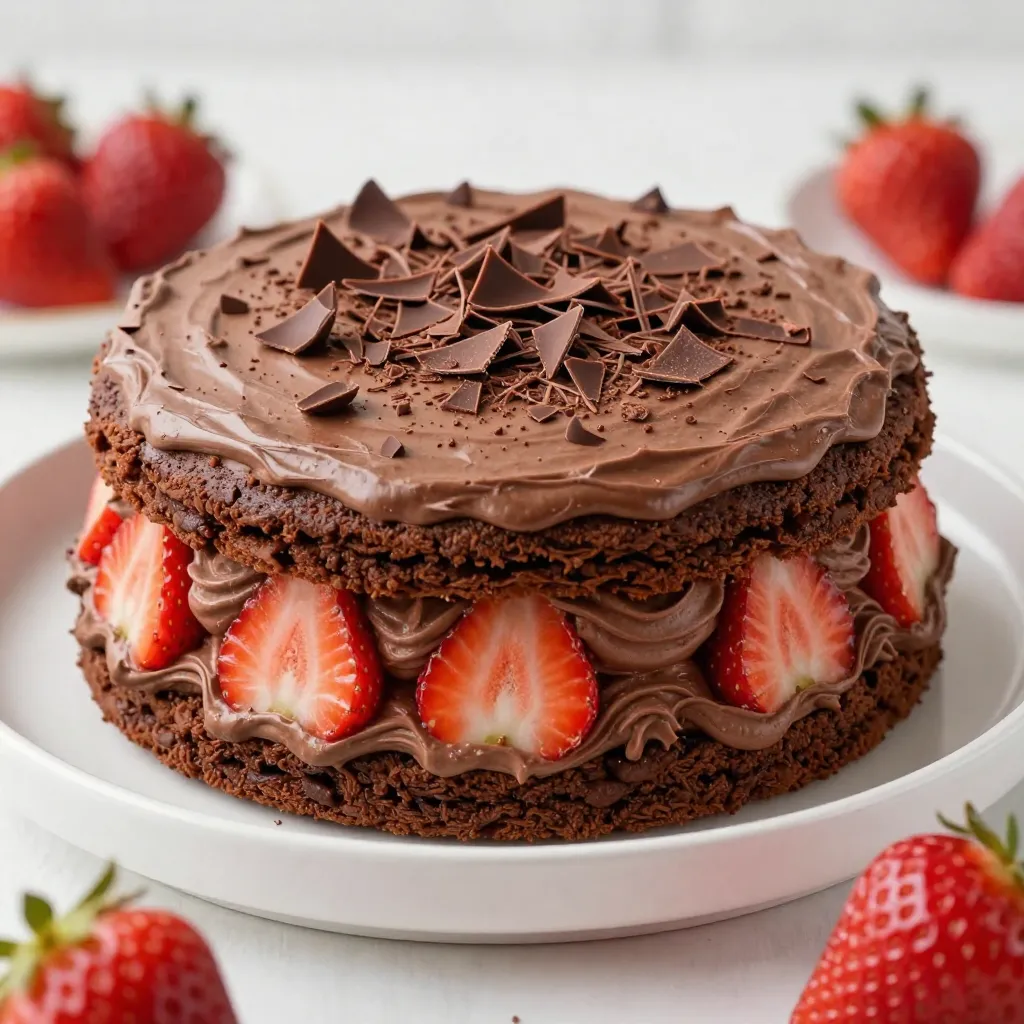
Craving a sweet treat that’s both easy and delicious? You’re in the right place! This Chocolate Strawberry Icebox Cake is a simple no-bake recipe that anyone can make. With layers of fresh strawberries, rich cream, and crunchy chocolate wafers, it’s sure to impress. I’ll guide you through each step, making it fun and rewarding. Let’s dive into this delightful dessert that’s perfect for any occasion!
Why I Love This Recipe
- Delicious Combination: The rich chocolate and fresh strawberries create a perfect balance of flavors that is simply irresistible.
- No-Bake Convenience: This icebox cake requires no baking, making it a quick and easy dessert for any occasion.
- Make-Ahead Option: With a chill time of at least 4 hours, this cake is perfect for preparing in advance for parties or gatherings.
- Elegant Presentation: The layers of cream, strawberries, and chocolate shavings make for a stunning dessert that impresses guests.
Ingredients
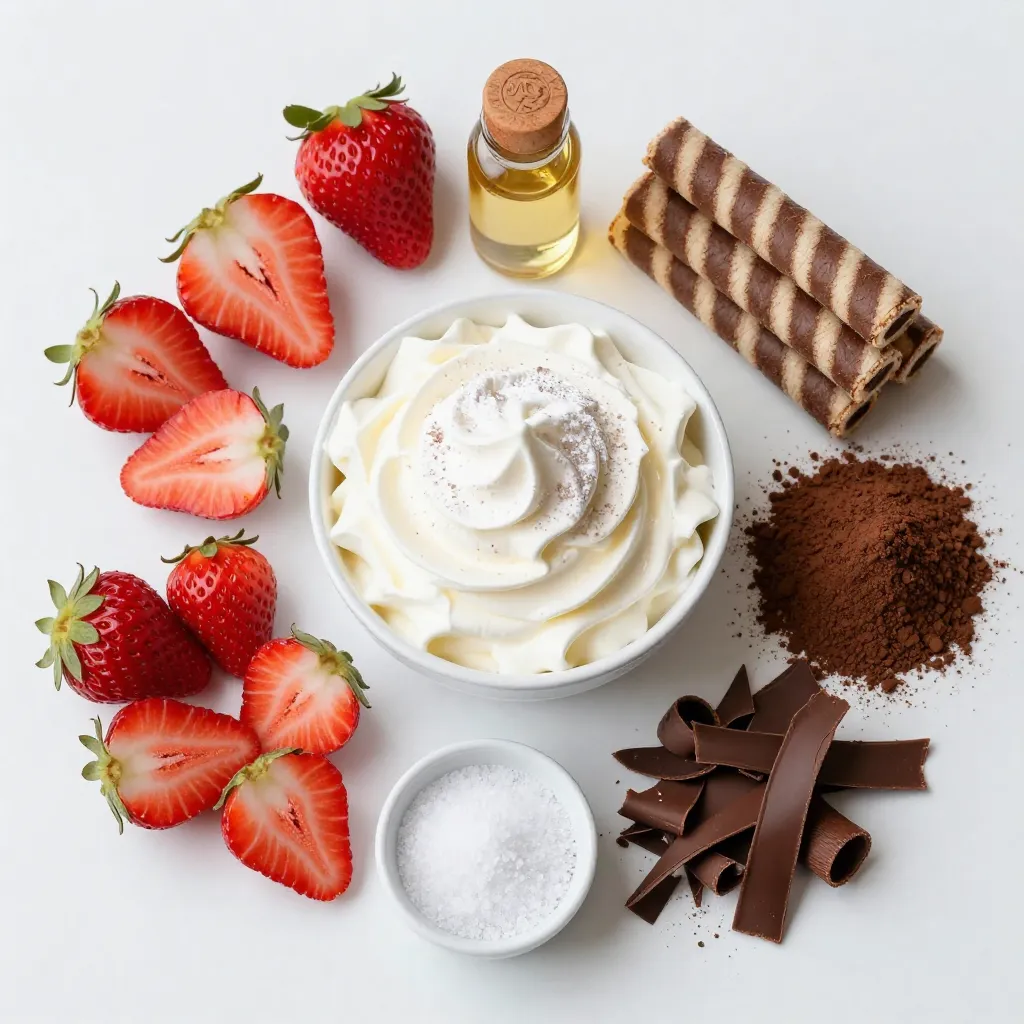
To make a delicious Chocolate Strawberry Icebox Cake, you will need the following ingredients:
– 1 lb fresh strawberries, hulled and sliced
– 2 cups heavy whipping cream
– 1/2 cup powdered sugar
– 1 teaspoon pure vanilla extract
– 12 ounces chocolate wafer cookies
– 2 tablespoons unsweetened cocoa powder
– A pinch of sea salt
– Chocolate shavings or curls, for garnish
These ingredients come together to create a rich, creamy dessert. The fresh strawberries add a nice contrast to the chocolate. Heavy whipping cream is essential to get that light, fluffy texture. The chocolate wafer cookies give the cake its structure and crunch. Cocoa powder intensifies the chocolate flavor, while powdered sugar sweetens the cream. Don’t forget the sea salt; it enhances all the flavors!
For garnish, chocolate shavings or curls add a touch of elegance. You can customize this cake by using different berries or toppings. Enjoy gathering these ingredients and getting ready for a fun, no-bake treat!
Step-by-Step Instructions
Preparation of the Whipped Chocolate Cream
To start, gather your ingredients in a large bowl. You need heavy whipping cream, powdered sugar, vanilla extract, cocoa powder, and a pinch of sea salt. Using an electric mixer, whip the mixture on medium-high speed. In about 3 to 5 minutes, you will see stiff peaks form. Stiff peaks are key because they help hold the cake together. If you don’t get stiff peaks, the cream may not stay fluffy.
Layering the Cake
Next, grab a 9×13 inch baking dish. Spread a thin layer of whipped chocolate cream on the bottom. This layer acts as the base. Now, take 6 to 8 chocolate wafer cookies and place them on top. Arrange them so they slightly overlap. Then, add half of the sliced strawberries over the cookies. Follow this with another layer of whipped chocolate cream to cover the strawberries well.
Completing the Assembly
Now, repeat the layering. Add another set of chocolate wafer cookies, then the rest of the strawberries. Finish with one last layer of whipped chocolate cream. Smooth the top gently with a spatula. Cover the dish tightly with plastic wrap and place it in the fridge. Let it chill for at least 4 hours. For best results, let it sit overnight. This will let the cookies soften and flavors mix well.
Tips & Tricks
Perfecting the Whipped Cream
To make the best whipped cream, whip until you see stiff peaks. This means the cream holds its shape well. Be careful not to over-whip it. If you do, the cream can turn grainy. If you want a lighter texture, try using whipped topping instead. It saves time and makes your cake airy.
Layering Techniques
Even layers are key to a great icebox cake. Start with a thin layer of whipped cream on the bottom. This helps the cookies stick. When placing the cookies, overlap them slightly. This keeps the layers from separating. Make sure to evenly spread the strawberries. This helps every bite taste amazing.
Refrigeration Tips
Let your cake chill for at least 4 hours. If you can, let it sit overnight. This helps the flavors blend and the cookies soften. Don’t forget to cover the dish tightly with plastic wrap. This keeps the cake fresh and prevents odors from the fridge.
Pro Tips
- Whip it Good: Make sure to whip the cream until stiff peaks form. This will ensure that your layers hold up beautifully and provide a rich texture to the cake.
- Layer Smart: For even flavor distribution, make sure to evenly spread the whipped cream and strawberries in each layer. This will enhance the overall taste in every bite.
- Chill Time: Allowing the cake to chill overnight is ideal, as it gives the cookies time to soften and the flavors to meld together for a more delicious dessert.
- Presentation Matters: Before serving, garnish with chocolate shavings and fresh strawberry slices. This not only makes the cake visually appealing but also adds a delightful touch of flavor.
Variations
Flavor Combinations
You can change the flavor of your Chocolate Strawberry Icebox Cake. Try using different berries. Blueberries or raspberries can add a fun twist. They give a fresh taste and nice color.
You can also add flavored extracts. Almond extract adds a warm, nutty note. Mint extract can bring a refreshing kick. Just use a small amount, about half a teaspoon, to start. You can always taste and add more if needed.
Topping Alternatives
While chocolate shavings are great, you can switch it up. Consider using crushed nuts for a crunchy texture. Walnuts or almonds work well. They add a nice contrast to the creamy layers.
Another option is shredded coconut. It gives a tropical feel and a chewy bite. You can toast the coconut for extra flavor. This makes your cake even more special and unique.
Storage Info
Refrigeration Guidelines
How long can the cake last in the fridge?
Your Chocolate Strawberry Icebox Cake can last up to 5 days in the fridge. Make sure to cover it well with plastic wrap. This keeps it fresh and prevents it from absorbing other smells.
Freezing Instructions
What are the steps for freezing and thawing?
You can freeze this cake for up to 3 months. First, slice the cake into squares. Wrap each piece in plastic wrap, then place them in an airtight container. When you want to eat it, move the cake to the fridge to thaw overnight. This way, it stays moist and tasty.
Serving from Storage
What are the best methods for serving leftovers?
To serve leftovers, take the cake out of the fridge. Let it sit for about 10 minutes at room temperature. This helps the flavors pop. You can add fresh strawberries or a drizzle of chocolate syrup on top. This makes each slice look pretty and inviting!
FAQs
Can I make this cake ahead of time?
Yes, you can make this cake ahead of time. In fact, it tastes better when chilled overnight. To prepare in advance, follow the recipe steps and layer the cake. After assembling, cover it tightly with plastic wrap. Place it in the fridge for at least four hours, but overnight is best. This gives the cookies time to soften and soak up the flavors.
Can I substitute ingredients?
Absolutely! If you need a dairy-free option, use coconut cream instead of heavy whipping cream. For gluten-free, choose gluten-free chocolate wafer cookies. Make sure to check the labels of all products to confirm they fit your dietary needs. You can also use maple syrup instead of powdered sugar for a different sweetness.
How should I store leftovers?
To store leftovers, keep the cake in the fridge. Cover it well with plastic wrap or foil to keep it fresh. Eat the cake within three days for the best flavor and texture. If you notice the cookies getting too soft, consider serving them in a bowl. This way, you still enjoy those great flavors without losing the cake’s form.
You can create a delicious chocolate strawberry cake with simple ingredients. Fresh strawberries, whipped cream, and chocolate cookies come together for a tasty treat. Follow the steps to whip the cream and layer the ingredients. Use tips to perfect your technique and try different flavors to customize your cake. Store it well to keep it fresh. This cake is fun to make and share. Explore variations and enjoy every bit